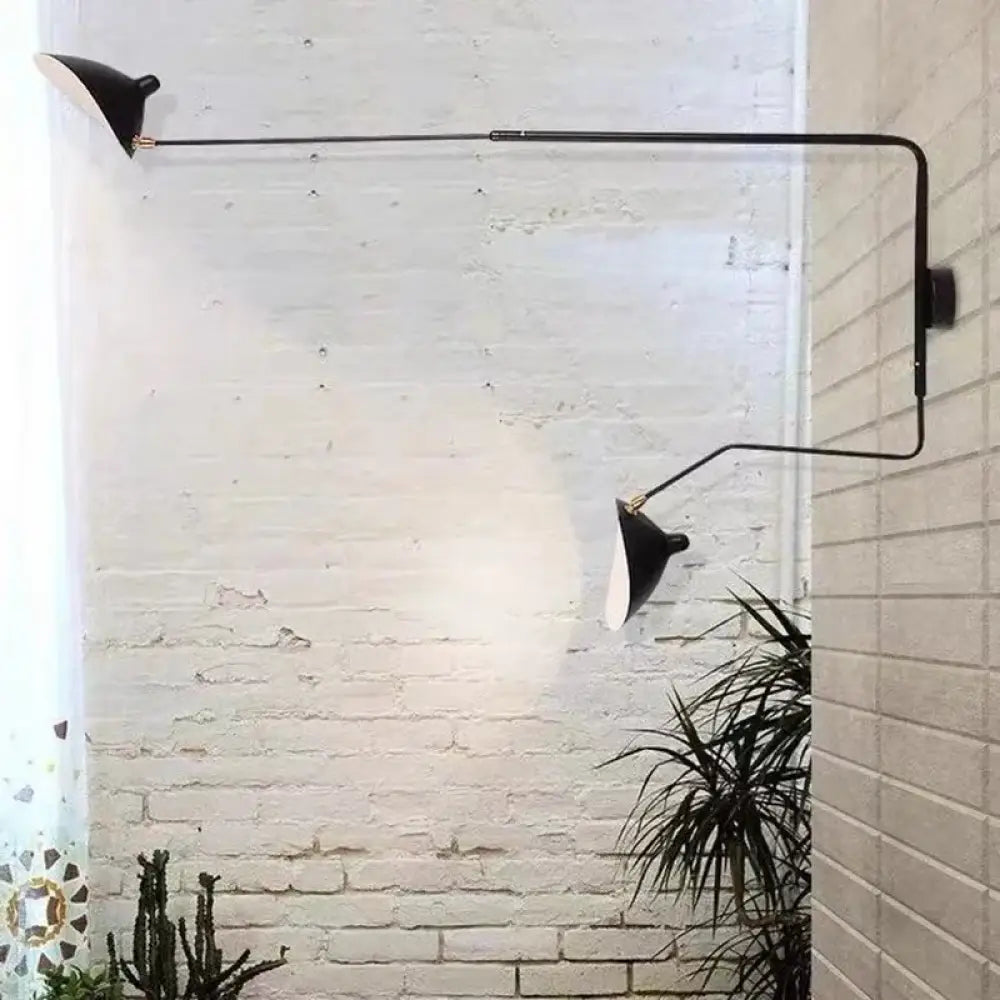
Fitting a wall light takes between 30 minutes and an hour when the wires are already coming out of the wall. What takes longest is often switching everything off, checking, and getting the light level. Here we go through the wiring wire by wire, wall lights with a switch, and above all what to do when there is no wiring in the wall, the most common situation in the messages we receive.
Key points
- Switch off the circuit at the consumer unit (not just the light switch) and check there's no voltage with a tester.
- Three wires: live (brown, or red in older wiring), neutral (blue, or black in older wiring), earth (green and yellow). Connect each wire to its counterpart with a lever connector.
- A Class II wall light has no earth: cap off the earth wire from the wall.
- No wiring in the wall? Chase the wall, use surface trunking, choose a plug-in wall light or a cordless rechargeable wall light.
- Usual height: 1.60 to 1.80 m in a living room, 1.10 to 1.30 m above the bed.

Before you start: tools and safety
You'll need:
- a voltage tester (two-pole tester), essential;
- a flat-head and a cross-head screwdriver; a neon test screwdriver is no substitute for a proper tester;
- a drill and a bit suited to the wall (concrete, brick or plasterboard), usually 6 mm;
- suitable wall plugs: standard for solid walls, cavity fixings for plasterboard;
- lever connectors (Wago type) or a screw terminal block;
- a spirit level and a pencil.
Switch off the circuit breaker (MCB) for the lighting circuit at the consumer unit, then check with the tester that there's no voltage between the wires. Turning off the wall switch isn't enough: depending on the wiring, there may still be a live conductor in the box. If you don't know which breaker it is, switch off the main switch.
Identifying the wires coming out of the wall

| Wire | Colour | Role |
|---|---|---|
| Live | Brown (red in wiring installed before 2006) | Carries the current; this is what the switch breaks |
| Neutral | Blue (black in wiring installed before 2006) | Return path for the current |
| Earth | Green and yellow | Protection, to be connected if the light is Class I |
In older installations, colours may not follow the rules, and there may be no earth. Watch out for switch wires: a blue or black wire can be used as a switched live, and should then be marked with brown or red tape. If you find two wires of the same colour, fabric-covered wires or aluminium, stop and get an electrician to check.
On the light itself, the wires or terminals are marked with letters: L for live, N for neutral, and the earth symbol.
Wiring a wall light, step by step
- Remove the old light if there is one, and note where each wire was connected.
- Hold the mounting plate against the wall, centred on the cable outlet. Check it's level and mark the holes in pencil.
- Drill and plug. Take care not to drill directly above or below the cable outlet: that's often where the cable runs.
- Screw on the plate, feeding the wires through it.
- Connect: live to L, neutral to N, earth to earth. With a lever connector, strip about 11 mm, push the wire in and close the lever. Give each wire a gentle tug to check it's secure.
- Tuck the connections into the box or behind the base of the light, without squashing the wires.
- Fix the light to the plate and fit the bulb (check the cap type and maximum wattage).
- Switch the power back on and test.
For reference, a UK lighting circuit is usually wired in 1.0 or 1.5 mm² cable on a 6 A breaker. If you're adding a light to an existing circuit, check it isn't already heavily loaded.

Wall lights with their own switch or a wall switch
Wall light with a built-in switch (button, pull cord or dimmer on the light): it's permanently powered, and the wiring is exactly as described above. It's the ideal solution when you don't want to touch the wall switches, above a bed for example.
Wall light controlled by a wall switch: the switch breaks the live before it reaches the light. On the light side, nothing changes: you still have live, neutral and earth. The live goes into the switch and comes back out as a switched live.
Two switches for one light (bedroom door and bed, top and bottom of the stairs): this is two-way switching. You need two two-way switches and connecting wires (strappers) between them. With more than two switching points, for example on a long landing, an intermediate switch is added between the two.
No wiring in the wall: four options
| Option | Work involved | Best for |
|---|---|---|
| Chasing the wall + conduit, then making good | Major (dust, filler, repainting) | Renovations, before redecorating |
| Surface trunking from an existing box | Moderate, visible | Concrete walls where chasing isn't possible |
| Plug-in wall light, visible cable | Two fixing holes | Renters, bedrooms |
| Cordless rechargeable wall light | None, or two holes | Hallways, above the bed, pictures |
Plug-in wall lights have a bad reputation because of the dangling cable. But a fabric cable run neatly and held with two clips can become a decorative feature. And for spots with no socket, rechargeable wall lights have come a long way: we've written a full guide to battery life and fixing.

How high to fit the light
If the wires are already there, the height is set for you. Otherwise, here are the usual guidelines, measured from the floor to the centre of the light:
- living room: 1.60 to 1.80 m;
- hallway: 1.70 to 1.90 m;
- above the bed: 1.10 to 1.30 m;
- above a bathroom mirror: 1.80 to 2 m, with a model rated for the zone (IP44 or higher).
For spacing between two lights, allow 2 to 3 m in a hallway. Every case is covered in our wall light height guide.
Frequently asked questions
How do you wire a wall light with only 2 wires?
If the wall only has live and neutral, you can only fit a Class II (double-insulated) wall light, which doesn't need an earth. For a Class I light, an earth needs to be run to the point.
Which wire goes where on a wall light?
The brown wire from the wall (red in older wiring) goes to terminal L, the blue (black in older wiring) to terminal N, and the green and yellow to the earth terminal.
Can you fit a wall light without an electrician?
Yes, for a straight replacement or connection to an existing point, with the power off and after checking there's no voltage. For a new circuit or any work in a bathroom, use a qualified electrician: in England and Wales this work is notifiable under Part P of the Building Regulations.
How do you fit a wall light without drilling?
With a cordless wall light fixed with adhesive or a stuck-on magnetic plate. It works on a smooth, painted wall, for light models.
Terminal block or Wago connector?
Both work. A lever connector is quicker and safer for a non-professional: no screws to tighten, and you can see the wire through the clear body.
See also: all our wall lights, our living room wall lights and our bedroom wall lights.